Tutorial 5
This week's tutorial involved cinemachine and post processing.
Part 1: Cinemachine
Cinemachine is a powerful tool in Unity that allows for cool camera effects. I started by making a third person camera that follows the player around by setting the look at and follow targets to the player's transform component.

Third person camera.
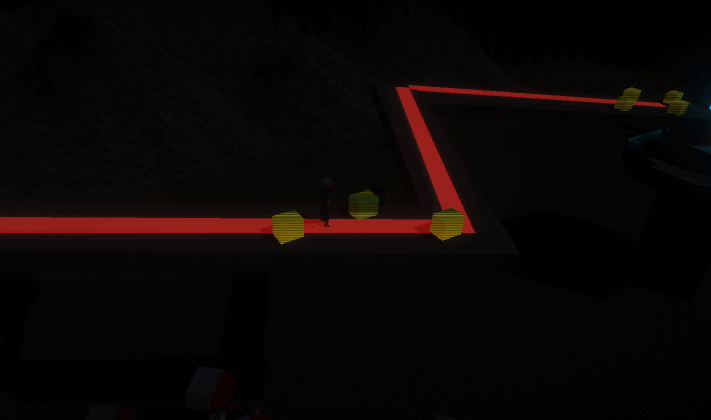
Cinemachine allows for multiple cameras with smooth transitions between them. I added a trigger on the bridge that changes to a static camera which looks at the player. I then let cinemachine do the work of easing in and out between the two cameras. I achieved this by adding a trigger collider on the bridge that increases the second camera's priority when entering, and reduces it back when exiting.
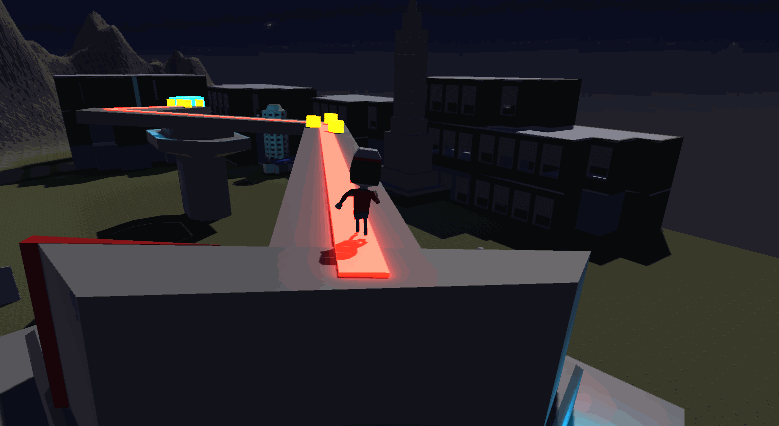
Fancy transitions.
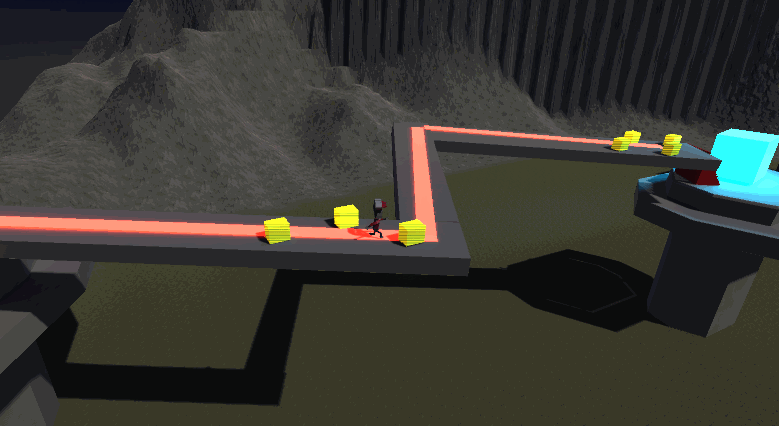
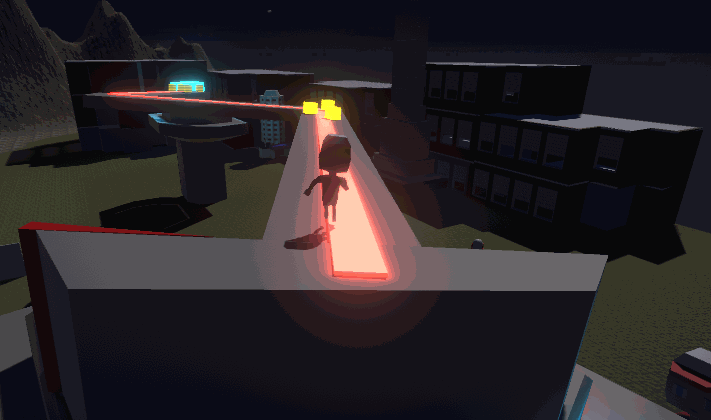
I then added a dolly track so that the bridge camera moves horizontally with the player like a side scroller.

Bridge dolly.
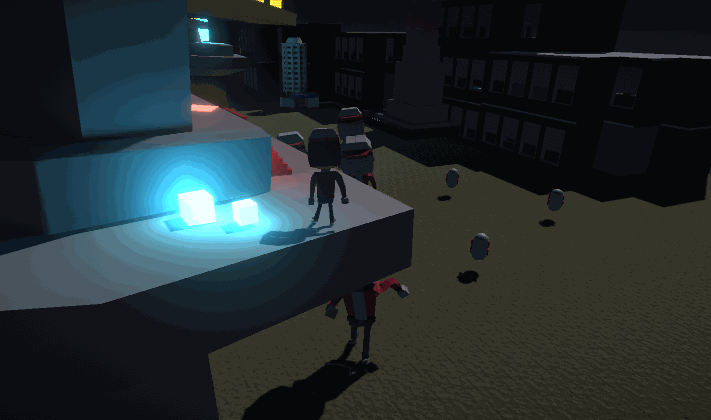
Finally, I made a target group camera that tries to keep the player and enemies in the same shot.
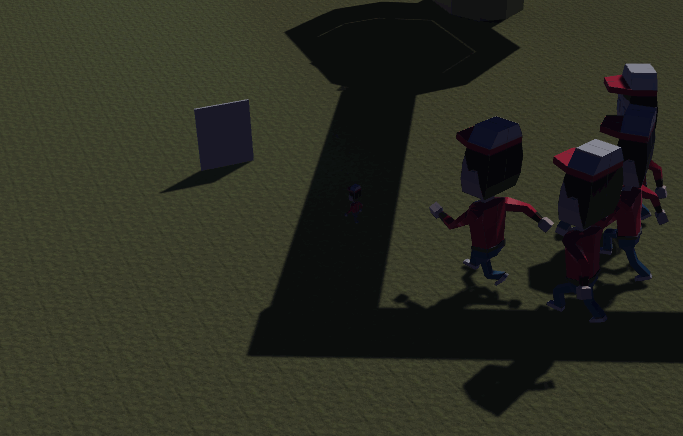
Target group camera.
Part 2: Post-Processing Stack
Post-processing allows for adding cool visual effects to the rendering of the game. I gave the main camera a post-processing layer and volume, then added a vignette to add to the night atmosphere and a bloom effect to increase the light's glow.
Vignette and bloom.
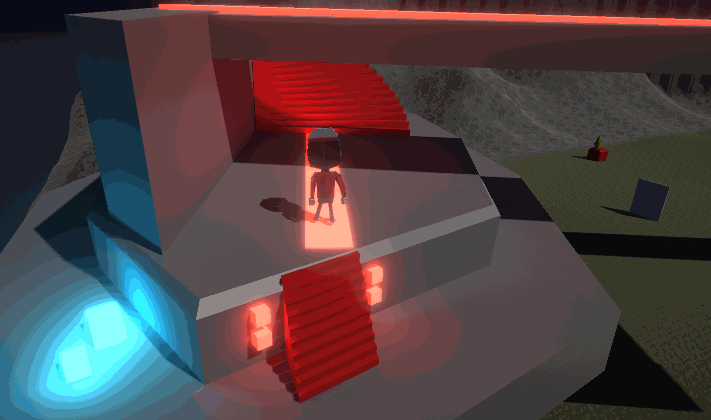
I then added an area effect trigger on the bridge that changes the post-processing profile to make the scene dark. I made sure to change the post-processing layer "trigger" field to the player so that the area effect looks for the player entering instead of the camera.
Spooky darkness.
The final task for this tutorial was applying a custom shader for post-processing. I used the code provided by the tutorial to add scripts that create a greyscale effect.
Noir simulator 2022.
This tutorial was fun because it showcased tools that make games look more polished / premium.
Leave a comment
Log in with itch.io to leave a comment.