Self Study 2: Modelling, Rigging, and Animating
This week's self study required modelling, rigging, and animating a simple humanoid character in Blender.
Modelling
For the modelling, I used the following video as a guide:
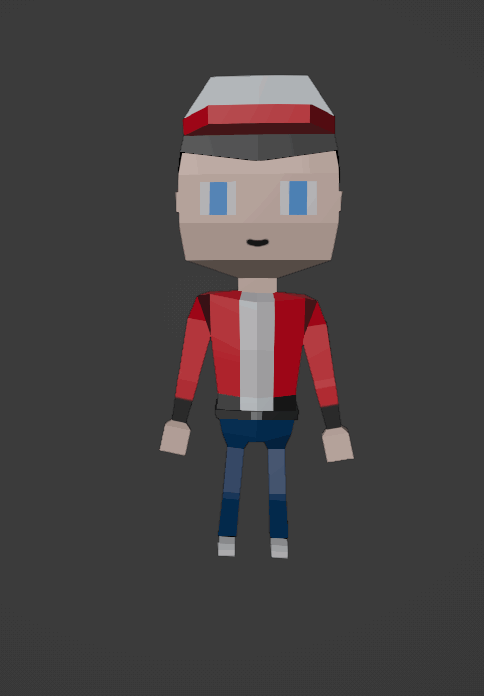
My final model:

I was very happy with this model, as it turned out to be the same as what I had planned in my head. It was very straightforward to make due its simplicity and low polygon count. I started with a cube and then shaped the model using the cutting, extruding, and scaling tools. My main deviation from the above tutorial was in my method of texturing. I ignored the method used in the video and instead used the same approach I did for the barrel last week, UV unwrapping and then painting the textures onto the model using the texture paint mode.
Rigging
Rigging involved taking the model I created and adding a skeleton to it so that it can be moved around "realistically". As a guide I used the following video:
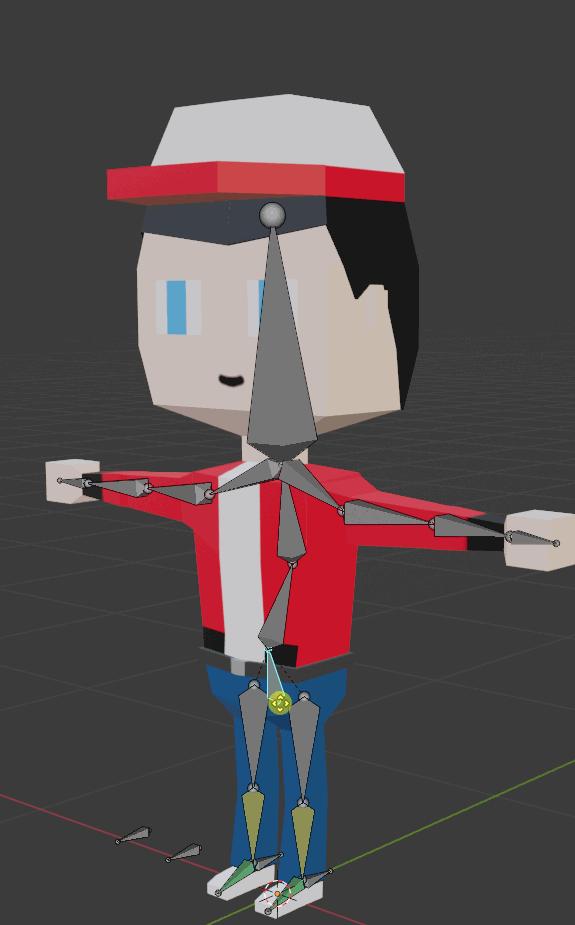
My final rig:
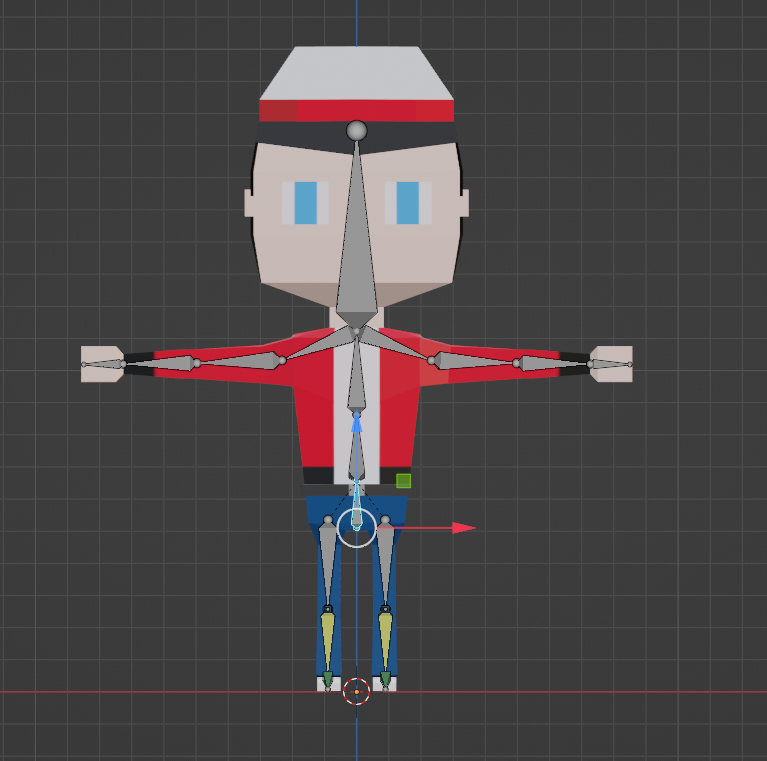
This process was a bit more complicated than I anticipated, as it involved lots of different parent relationships to manage. This complexity grew with the implementation of inverse kinematics, which is a fancy constraint that allows for more accurate bendy leg simulations. Luckily my model didn't have fingers, which would have made life way more difficult
Inverse kinematics bendy legs.

Skeletal head bopping.

Armature rave.
It was very satisfying when I finally got the model rigged up and working as expected. With this done, it was time for animating!
Animating
I now had a fully posable model, so it was time to make it stand, walk, and wave. To get the basics of figuring out how to save multiple animations (as well as inspiration for the idle animation) I used the following video tutorial:
1. Idle Animation
This animation was very simple, as I just used a simple exaggerated breathing gesture. I wanted to focus on having the whole body move with the breath so that it doesn't look too robotic. I was happy enough with the result. It does look very creepy though due to the wide unblinking eyes and eternal smile.

Nightmare fuel idle animation.
2. Walking Animation
As walking is a bit more complicated to map out mentally in key frames, I found the following image as a guide:
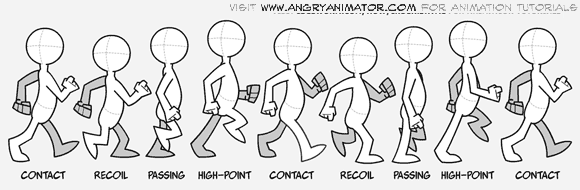
Source: https://www.angryanimator.com/word/2010/11/26/tutorial-2-walk-cycle/
I recreated these poses as keyframes and when it all stitched together this was the final result:
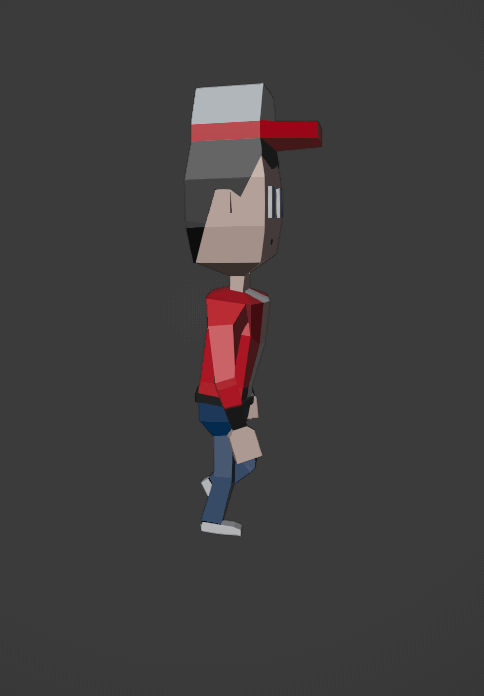
Side profile. It matches the reference close enough for my (admittedly low) standards.
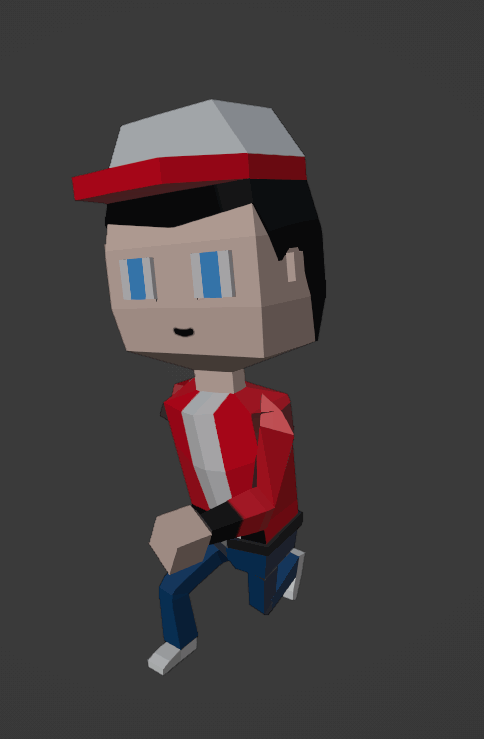
A different view.
Overall I was satisfied with my attempt for walking, as it has a certain bounciness and swagger that complements the low poly style.
3. Waving Animation.
The final animation I made was waving. I didn't use any reference for this and just tinkered about until I got something that look good enough. I wanted to focus on having subtle movements throughout the entire body to create a more realistic result.
Hello there.
For all the animations I didn't try anything fancy, like interpolation modes or different key frame types. I just hit the record button and made adjustments until it looked good enough. I'm happy with the end product, but I've got a lot of things to learn in the future.
Leave a comment
Log in with itch.io to leave a comment.