Self Study 5 - Lighting + Shaders
This weeks self study was all about lighting and shaders.
To start off with, I used the following tutorial by Brackeys to create a simple lighting scene:
With this, I tried to recreate the scene using baked lighting (as all the objects are static). I used post processing to create the glow effect and vignette.
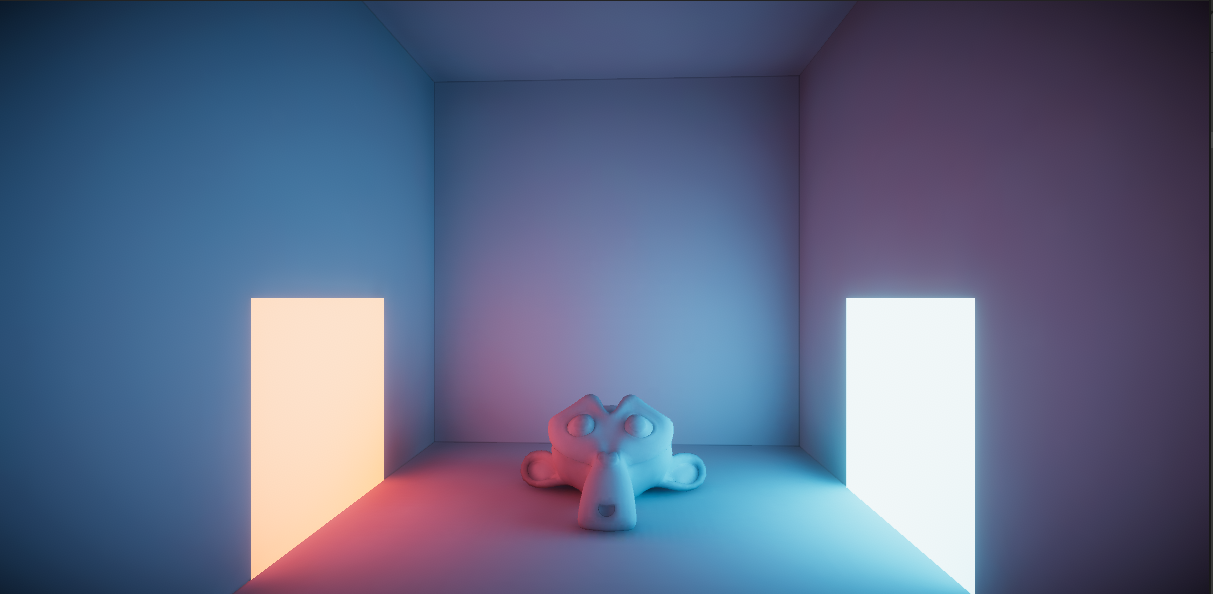
I found this tutorial to be a lot of fun, as it made the objects in the scene look really cool with only a few clicks.
Next up was working with shaders. Unity's Shadergraph does all the heavy lifting and frees the user from having to tear their hair out writing complex shader code to get cool effects. Again Brackeys the goat supplied a tutorial that I used to learn this tool (despite some things being out of date).
The end result was a cool pulsating glow to the monkey.

Glowing monkey.
Now it was time to bring these new skills to the tutorial game. To showcase the lights I decided to add a new skybox to show a night sky and dim the world light down.
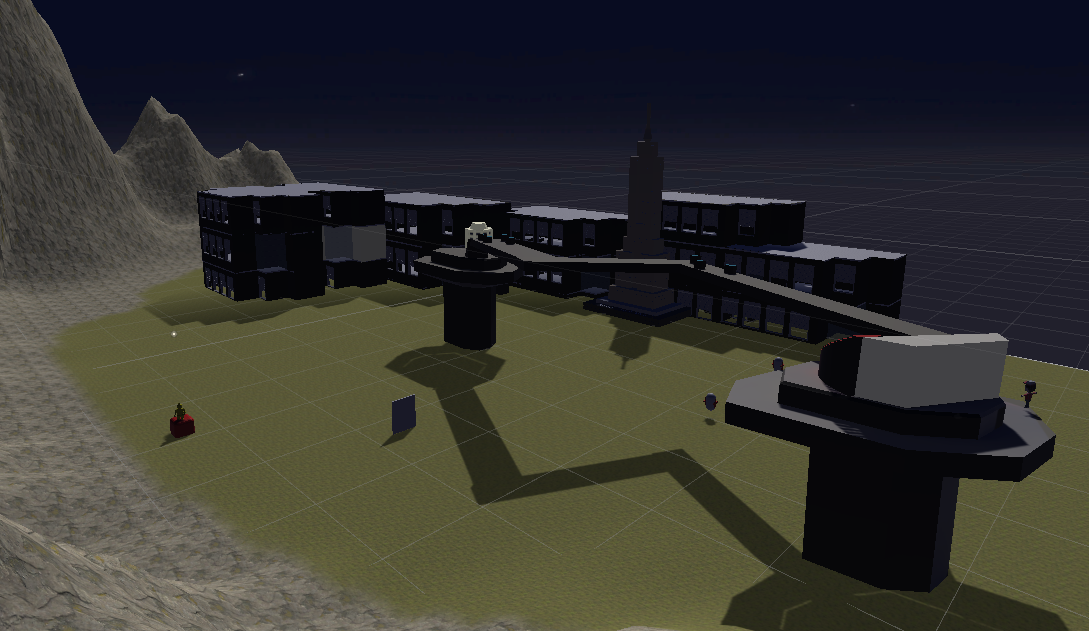
Unlit scene at night. Spooky... (Night skybox: https://assetstore.unity.com/packages/2d/textures-materials/sky/urban-night-sky-...)
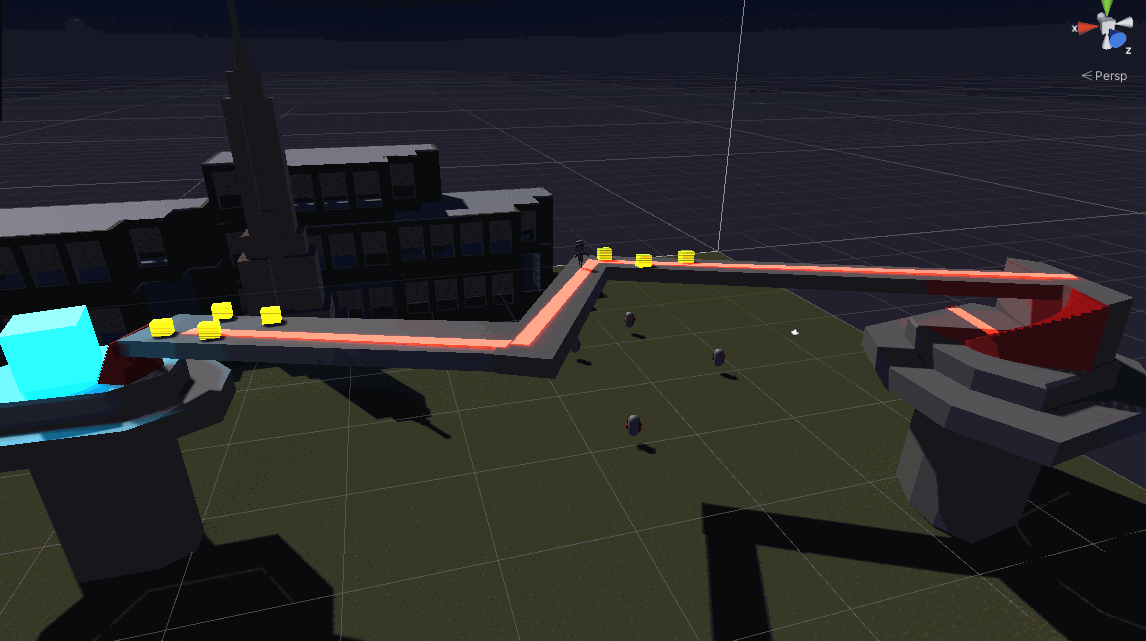
I thought about adding lights to all the buildings, but whenever I tried baking my computer became uncomfortably loud and would not finish processing within my lifetime. I instead decided to add lights to the bridge structure, which still took half an hour to bake.
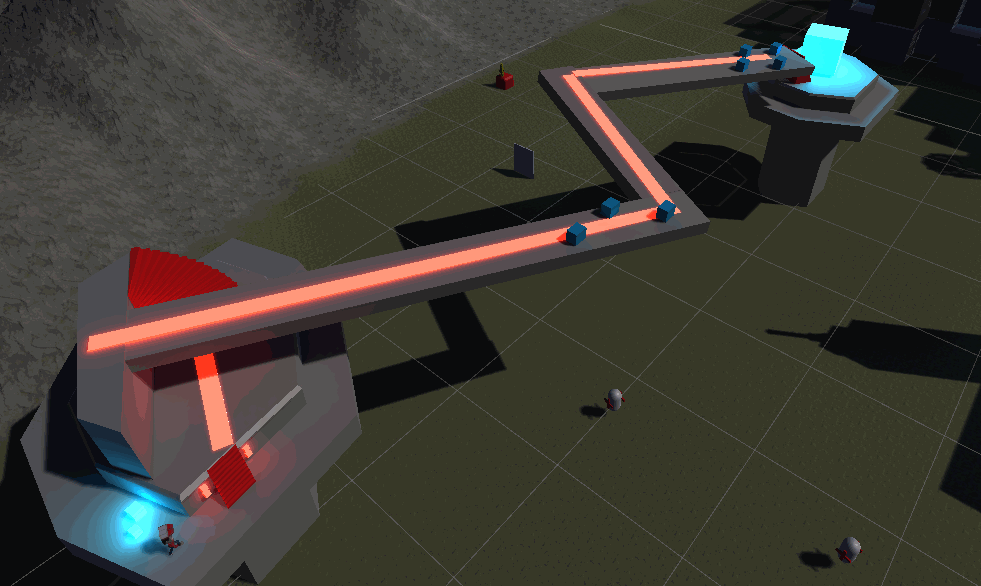
Baked scene. Still spooky..
I added blue lights where the player starts to indicate a safe area. I then used red lights to direct the player across the building. I also added a large blue light cube that acts as an area of interest for the player, as it stands out and matches the colour of the "safe" starting lights. This is a very simplistic application of colour theory but I think it works well enough.
A different view.
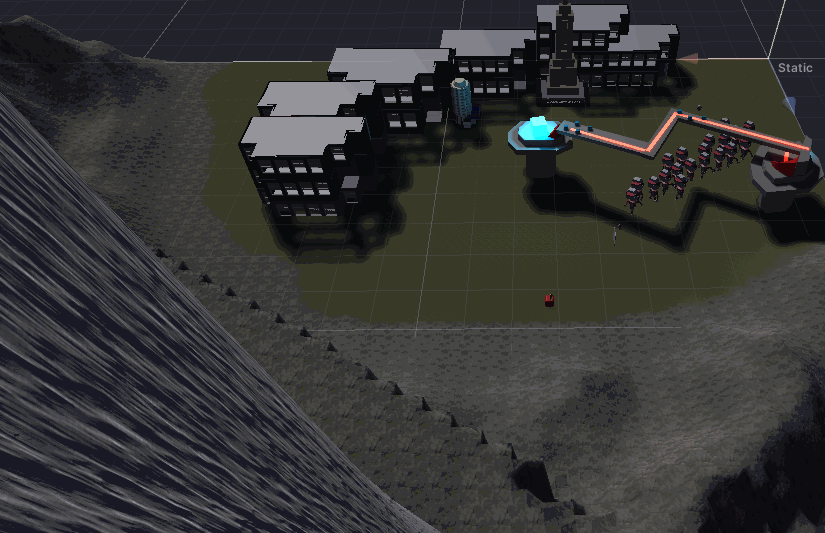
Finally, I tried to apply a shader to the obstacle cubes. I used the following Brackeys tutorial as a starting guide and used the provided hologram texture.
I decided to change the look of it to be an electric force field type material. This makes the cubes look like they are dangerous to touch. I did this by multiplying a bright yellow colour with a Fresnel node, then multiplying the output with the hologram texture and attaching this to the emission input.

Electric cube.

Avoiding the electric cubes.
Final result of baking and shading.
I enjoyed this self study a lot even though shader graph is extremely daunting... I'm looking forward to seeing how it can be applied in the group project.
Leave a comment
Log in with itch.io to leave a comment.