Self Study 3: Terrain Time
Part 1: Intro to Terrain
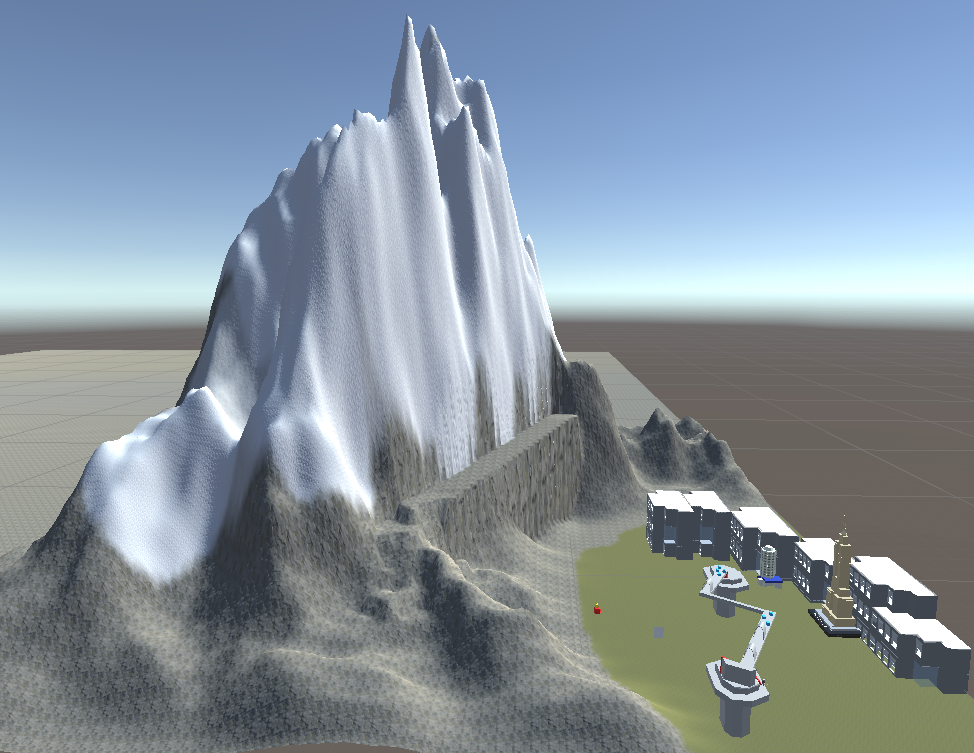
This week was all about terrain, which sounds daunting but fortunately Unity has tools to quickly make decent looking environments. I have never used this feature before and it was interesting to learn it. My first attempt was just using the default terrain, which still has a lot of functionality. My end product is a bit dodgy as my approach was to haphazardly click on things until stuff happened. This was the result:
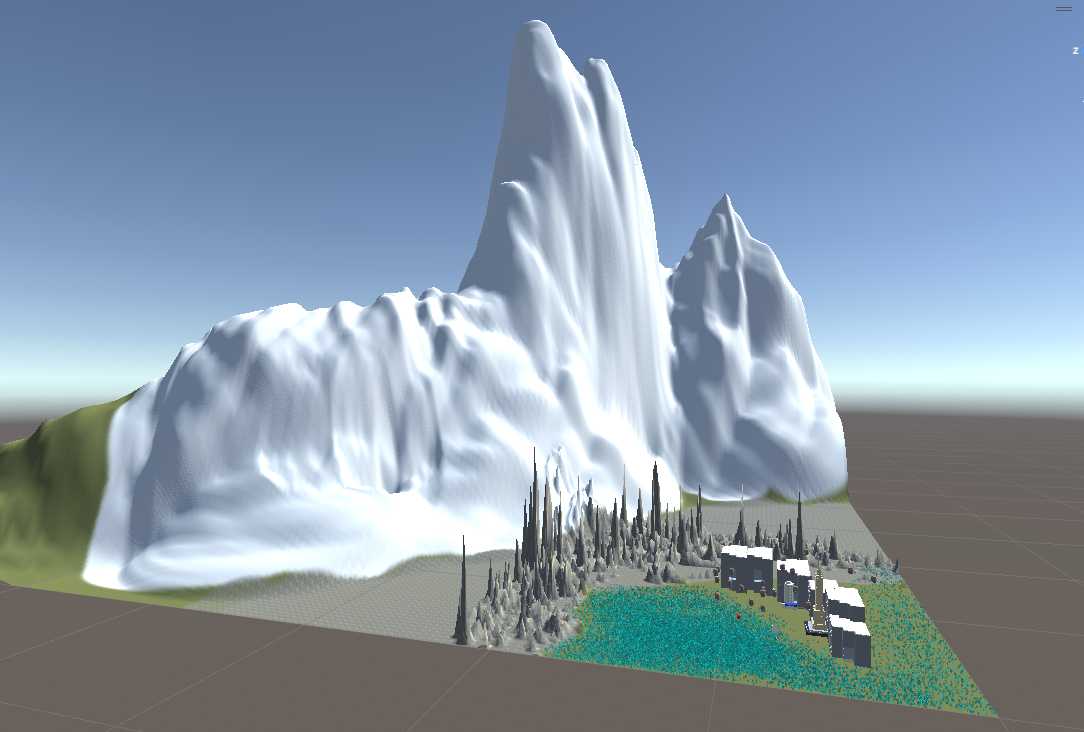
End product of 10 minutes of random clicking. I used the raise terrain, paint texture, and paint trees tools. All terrain textures source: https://assetstore.unity.com/packages/3d/environments/landscapes/terrain-sample-...
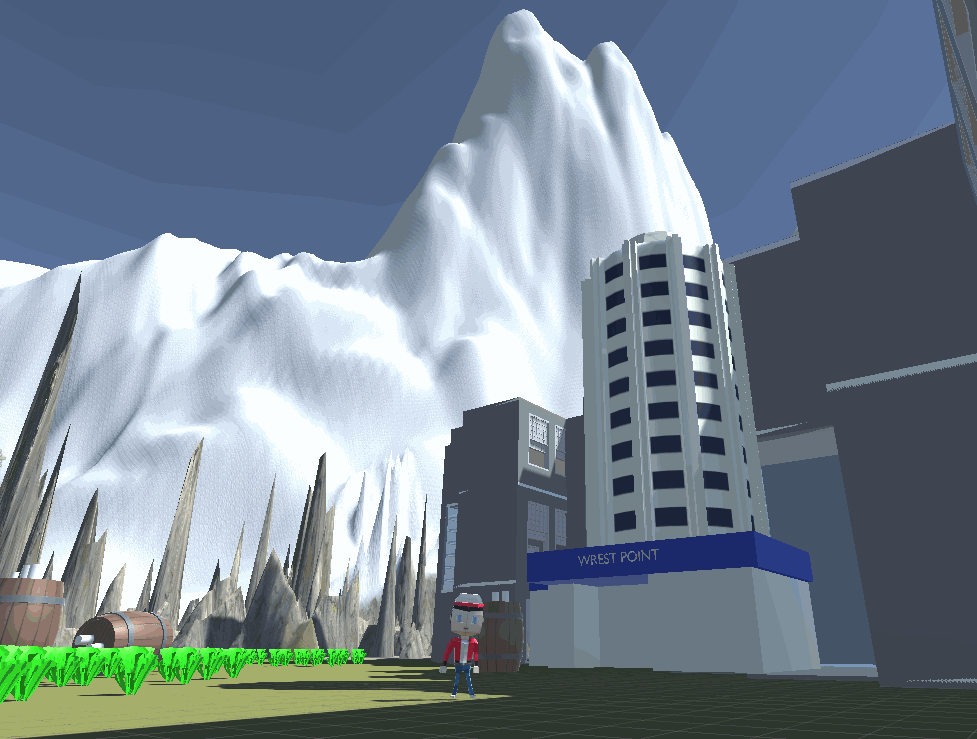
Looks alright at this very specific camera angle.
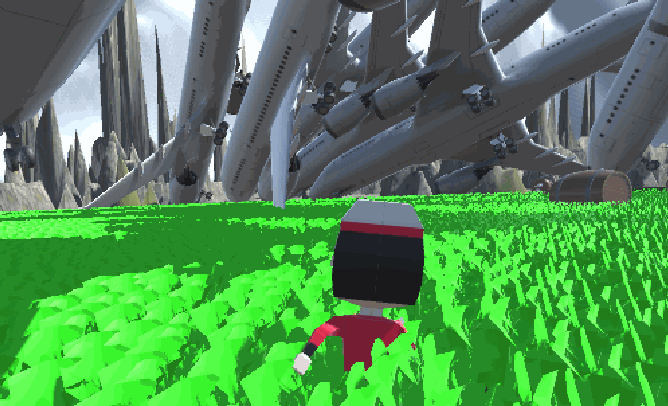
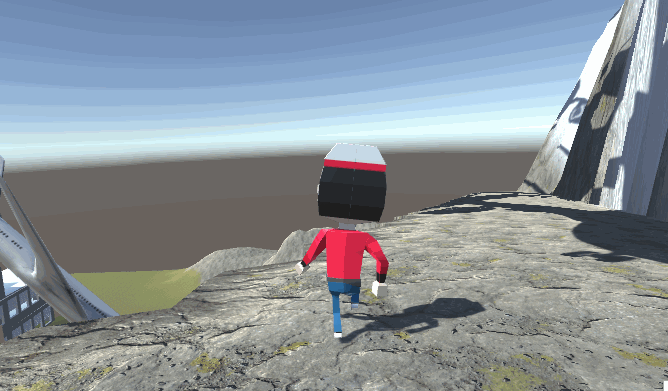
Casual stroll through the grassy (and planey) field.
Part 2: Terrain Tools Upgrade
Now that I had familiarised myself with the very basics of terrain making, it was time to add the Terrain Tools package, which provides new tools as well as a utility toolbox to improve workflow (see https://blog.unity.com/technology/speed-up-your-work-with-the-new-terrain-tools-...). With this package downloaded I created a new terrain using these new tools. After another 10 minutes or so of mucking around, here is the end result (as well as a showcase of the new tools I used):

A simpler (but cleaner looking) terrain environment.
The bridge tool creates a good looking bridge between two points with only a couple of clicks.
Walking across this 100% safe bridge.
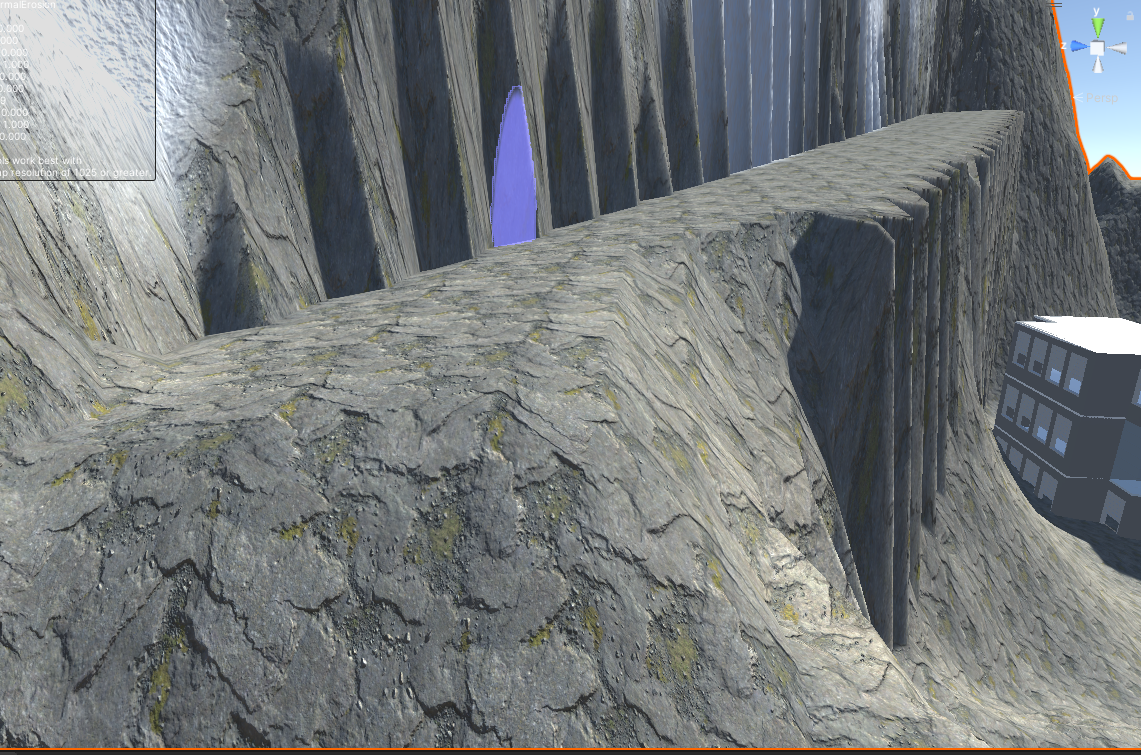
Erosion tool simulates effect of environment destroying the terrain over time. This makes the bridge I made look more weathered / precarious to traverse.
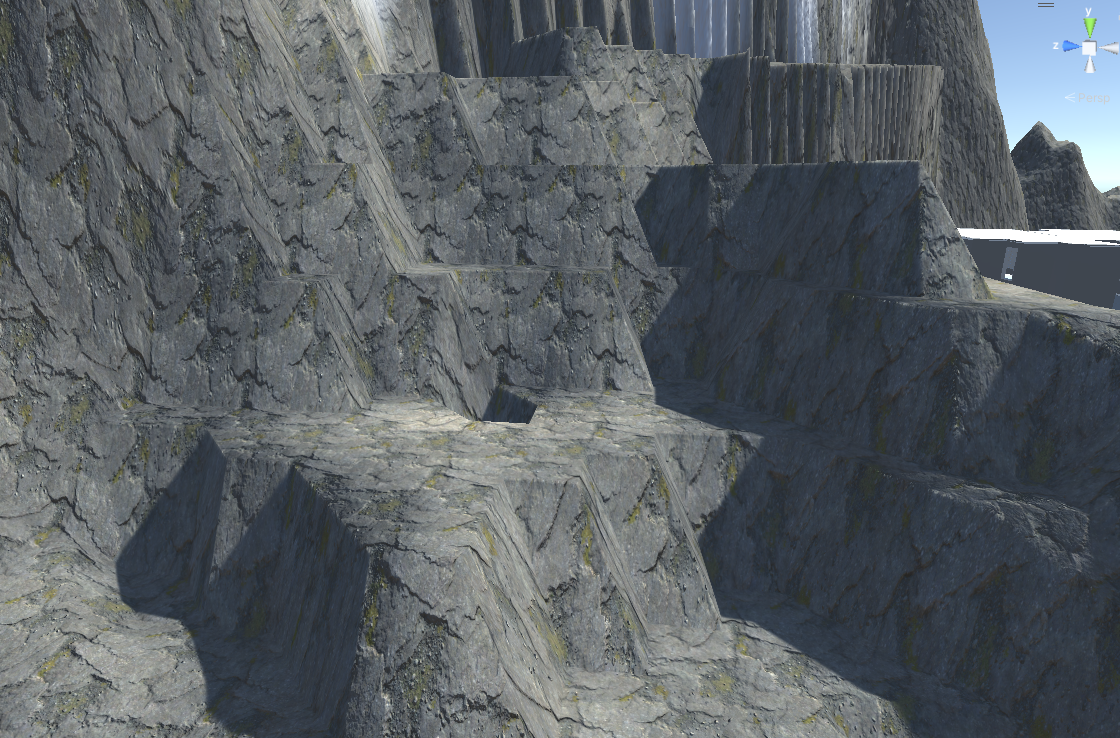
Terrace tools flattens out sections of the terrain to make steps.
Part 3: ProBuilder
The final part of this weeks self study was to try out ProBuilder, which allows you to easily model inside unity. This means it's easy to grey box a level for prototyping. I used the following video by Brackeys to introduce myself to ProBuilder:
With the help of this tutorial I made a rough building structure / obstacle course:
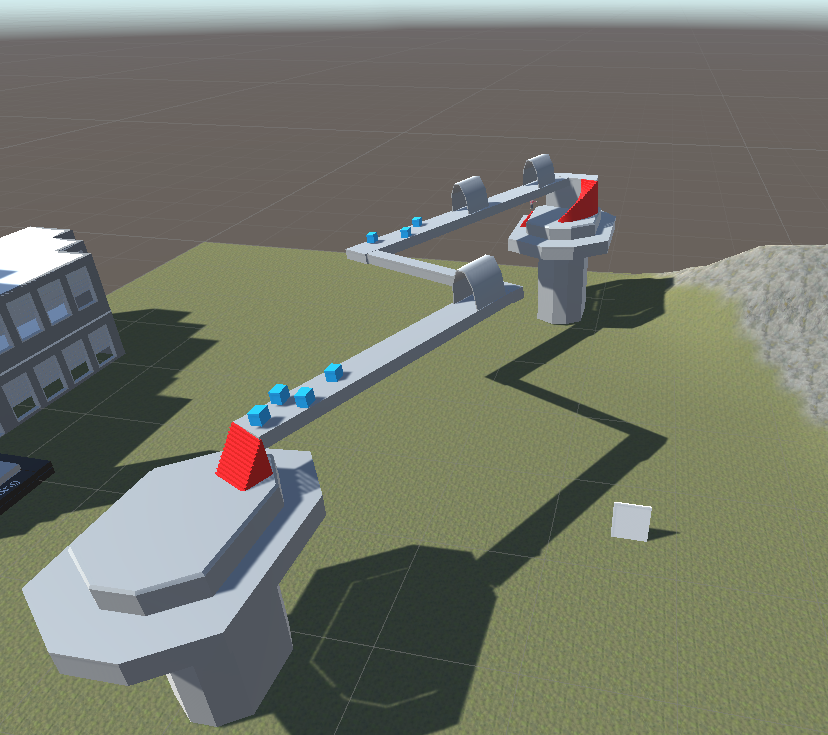
Lightning bolt bridge between two pillars.
A useful tool I found in ProBuilder was the shape creation tool, which has generic objects you can make. In particular the stairs were very effective.

Climbing stairs.
I also made some cubes as obstacles to walk around.
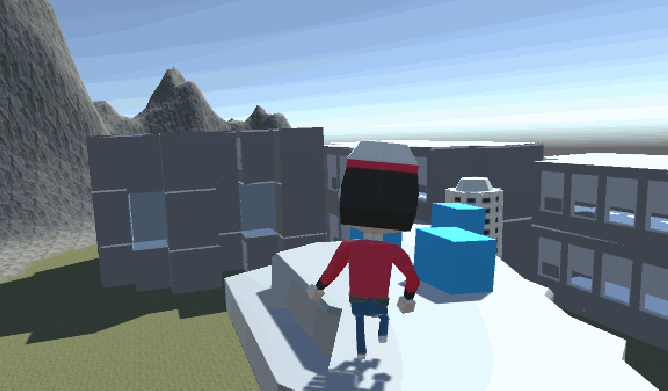
Super difficult obstacle course.
With this completed, I had a very dense scene that looked way cooler than I expected before I began the self study.
Overall I really enjoyed this tutorial and it taught me how powerful the terrain tools and ProBuilder are in Unity. I'm excited to use these in my future projects and look forward to further widening my game dev inventory.
Leave a comment
Log in with itch.io to leave a comment.